As I have already mentioned previously that the component of angular contains the various types of view. So let’s discuss the angular component in detail.
We will learn how to make a component and the basics of the component and also going to learn how to add a new component and how to use it.
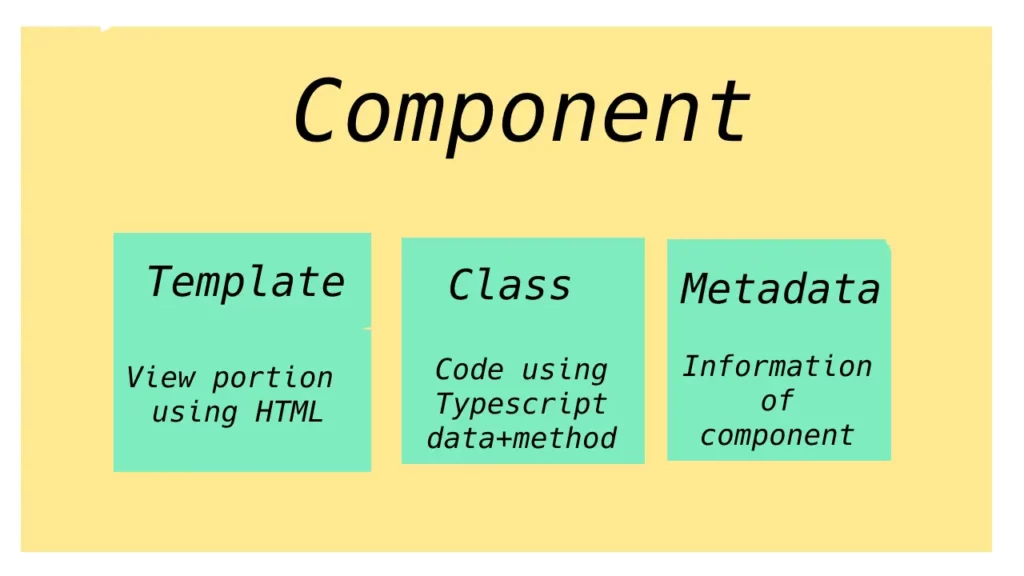
The structure of a component of Angular
A component of Angular is made up of 3 parts and they are as described below.
- The first one is the template representing the view, created using HTML.
- The next one is the class which is the code to support the view and this is created using the Typescript
The class is like any object-oriented programming language is contained the data property and the method to support the view. - And finally, the component also has some metadata attached to it which decides whether the class is a component or a regular class.
The metadata is defined using a decorator which is a feature in typescript. A decorator is a function that provides information about the class attached to it. And for components, we will use the component decorator.
So if we put together a template and a class and metadata then we will get an Angular Component.
Now I am writing code for a Component and describing the parts of it which is automatically generated during the installation.
app.component.ts
import { component } from '@angular/core';

@Component({
     selector: 'app-root',
     templateUrl: './app.component.html',
     styleUrls: ['./app.component.css']
})

export classAppComponent{
      title = 'Code Mystery';
}
*The class is located just below the decorator and the decorator told the system that it’s not just a class is an Angular component.
The metadata contains a selector, a template, and styles of the view.
The Selector:
The selector is an HTML tag, basically which is used to display a portion of the view of the Component.
The Template:
The portion of the template has defined the template of the view or template URL of the view of the component.
And the style section:
The style section defined the style or the style URL of the view of the component.
=> Now create a new component and make some modifications:
To create a new component go to the command prompt terminal where your project folder is already selected. And then type the below command
ng g c <the name of the component>- Here g represents generate and c represents the component.
After completion of the execution of the command, you can see a few changes in your project folder.
- You can see a folder is created by the name of the component inside the app folder.
- 4 new files are created inside the newly generated folder and they are
1. <component name>.component.html
2. <component name>.component.spec.ts
3. <component name>.component.ts
4. <component name>.component.css - and upgradation on app.module.ts file
For my case, I am creating a component-by-name test so the folder will be created with name as test and the files created inside the test folder are:
1. test.component.html
2. test.component.spec.ts
3. test.component.ts
4. test.component.css
also to create e component by name test the command will be as described below,
ng g c testThough we have given the name as the test only, you can notice the .component is automatically added with the name test.
Now any time you created a new component your application should know it, it the system updates the app.module.ts file and added the component there.
The Test component is declared inside app.module.ts file is:
import { Test Component } from 'test/test.component';

@NgModule){(
      declaration: [
                    AppComponent,
                    TestComponent
                   ],
....
Now if you go to the test.component.ts in meta data you will find a selector.
@component({
       selector: 'app-test',
........
The value of a selector is to represent the view of the component as an HTML tag.
Now if you go to the root component of your application you have created a ‘Hellow World’ application and added the tag <app-test></app-test> in the app.component.html file. You can be able to see the view of the test component, in the portion where <app-test></app-test> is located.
Now going to discuss the way to specify the selector:
The 1st one is use of a tag which we have already seen.
The second one is to use as a class of an HTML tag, for that, you have to define the selector with a prefix dot(.) And then in the app.component.html file, you can use the selector value as a class name in a div tag.
The third one is an attribute you have to enclose the value of the selector in the third brasses([]) in test.component.ts file and then take a div and give the selector value as an attribute in app.component.ts file.
How many ways we could handle the template?
The first one we have already seen, by using the template URL `templateUrl: ‘./test.component.html’,`.
The second one is, we can define a template inline inside the metadata of a component file and for that first you have to change ‘templateUrl‘ to ‘template‘
There are mainly 2 ways to define an inline template in an angular component and they are as defined below,
I) The first one to define an inline template by enclosing the code by a single citation(‘).
Here is one restriction the template definition is enclosed by a single quotation and has to define in a single line.
ii) Now the second way is to define an inline template definition by enclosing the template by back tigs (`) which is located just above the tab key, and just below the escape key of your keyboard.
It solves the limitation of surrounding by the single quotation that the definition has to be in single quotation that the definition has to be in a single line. So by enclosing a template definition by back tigs e can write multi lines of HTML code for template definition in the component.
The way to define the style for your component?
The first one is by giving a style URL that you can give multiple lines of CSS in your component’s style file.
We can make the style also inline, and for that first, you have to change the styleUrls to style and after the colon (:) in an array, we can define the style lines, separating by coma surrounded by back tigs or single quotation. Hare is also the same limitation as the template, that while you are using multiple lines you have to use back tigs instead of single quotation.